Ubuntu Studio Full Details and System Requirements
Ubuntu Studio is a free and open source operating system, and an official flavor of Ubuntu. Ubuntu Studio is the most widely used multimedia-orientated operating system in the world. It comes preinstalled with a selection of the most common free multimedia applications available, and is configured for best performance for various purposes: Audio, Graphics, Video, Photography and Publishing.
Ubuntu Studio is an operating system for creative individuals in the areas of Audio Production, Video Production, Graphics Design, Photography, and desktop publishing.
Audio
Recording, mixing, mastering, live processing, or even coding
Whether your aim is recording, mixing, mastering, live processing, or even coding, there is a variety of tools for you. With a full suite of audio applications Ubuntu Studio can support you with these tasks and many more.
Ubuntu Studio makes available some of the most popular and recently updated audio software in the Linux world.
JACK
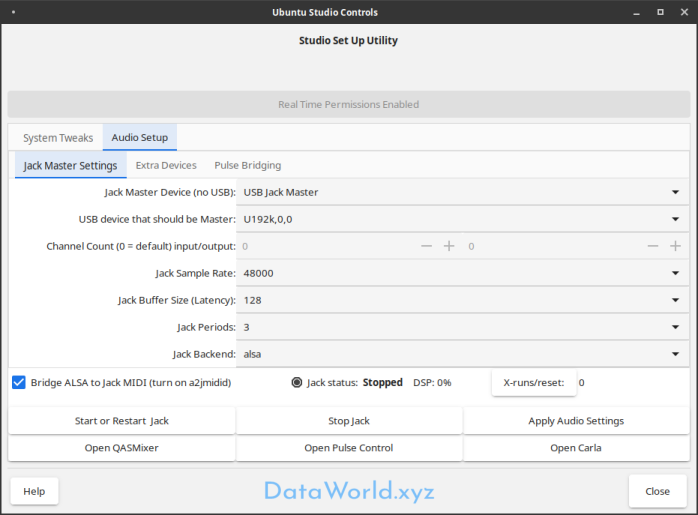 Jack is a low latency capable audio and midi server, designed for pro audio use. It enables all Jack capable applications to connect to each other. The preferred method of controlling Jack with Ubuntu Studio is our very own Ubuntu Studio Controls (pictured):
- provides low latency (less than 5 milliseconds with the right hardware)
- allows multiple audo devices to be used at once
- recognizes hotplugged USB audio devices
Ardour
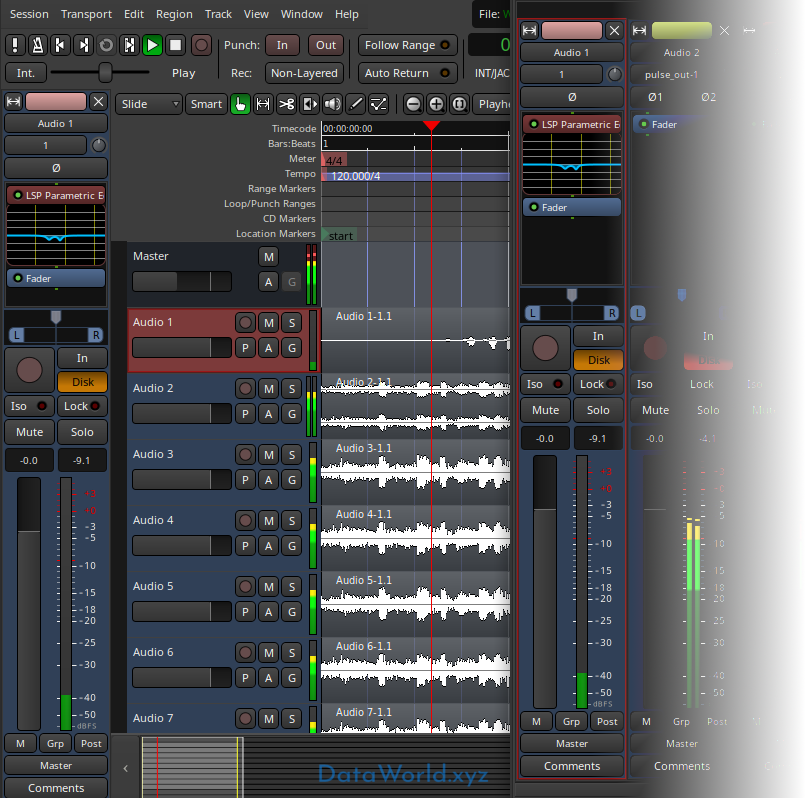 Ardour is a Digital Audio Workstation (DAW), suitable for recording, mixing and mastering. Some of its features include:
- Unlimited audio tracks and buses
- Non-destructive, non-linear editing with unlimited undo
- Anything-to-anywhere signal routing
- Unlimited pre- and post-fader plugins
- 32 bit floating point audio path
- Automatic track delay compensation
- Sample accurate automation
- Standard file formats (BWF, WAV, WAV64, AIFF, CAF & more …)
- More than 200 LADSPA & LV2 plugins freely available
- MIDI CC control with 1 click
- Level 2 MIDI Machine Control
- MIDI Timecode (MTC) Master or Slave
- Full integration with all JACK applications
- Video-synced playback, pull up/pull down
Carla
 Carla is a virtual Audio Rack and Patchbay, otherwise known as a plugin host, that can use audio plugins normally used in a DAW such as Ardour as if it was a rack of audio hardware. Some of its features include:
- Saving virtual racks and connections
- Interacting with several plugins types, including LADSPA, LV2, DSSI, and VST.
- Has a plugin bridge that utilizes WINE to use plugins compiled for Windows devices (experimental, not installed by default).
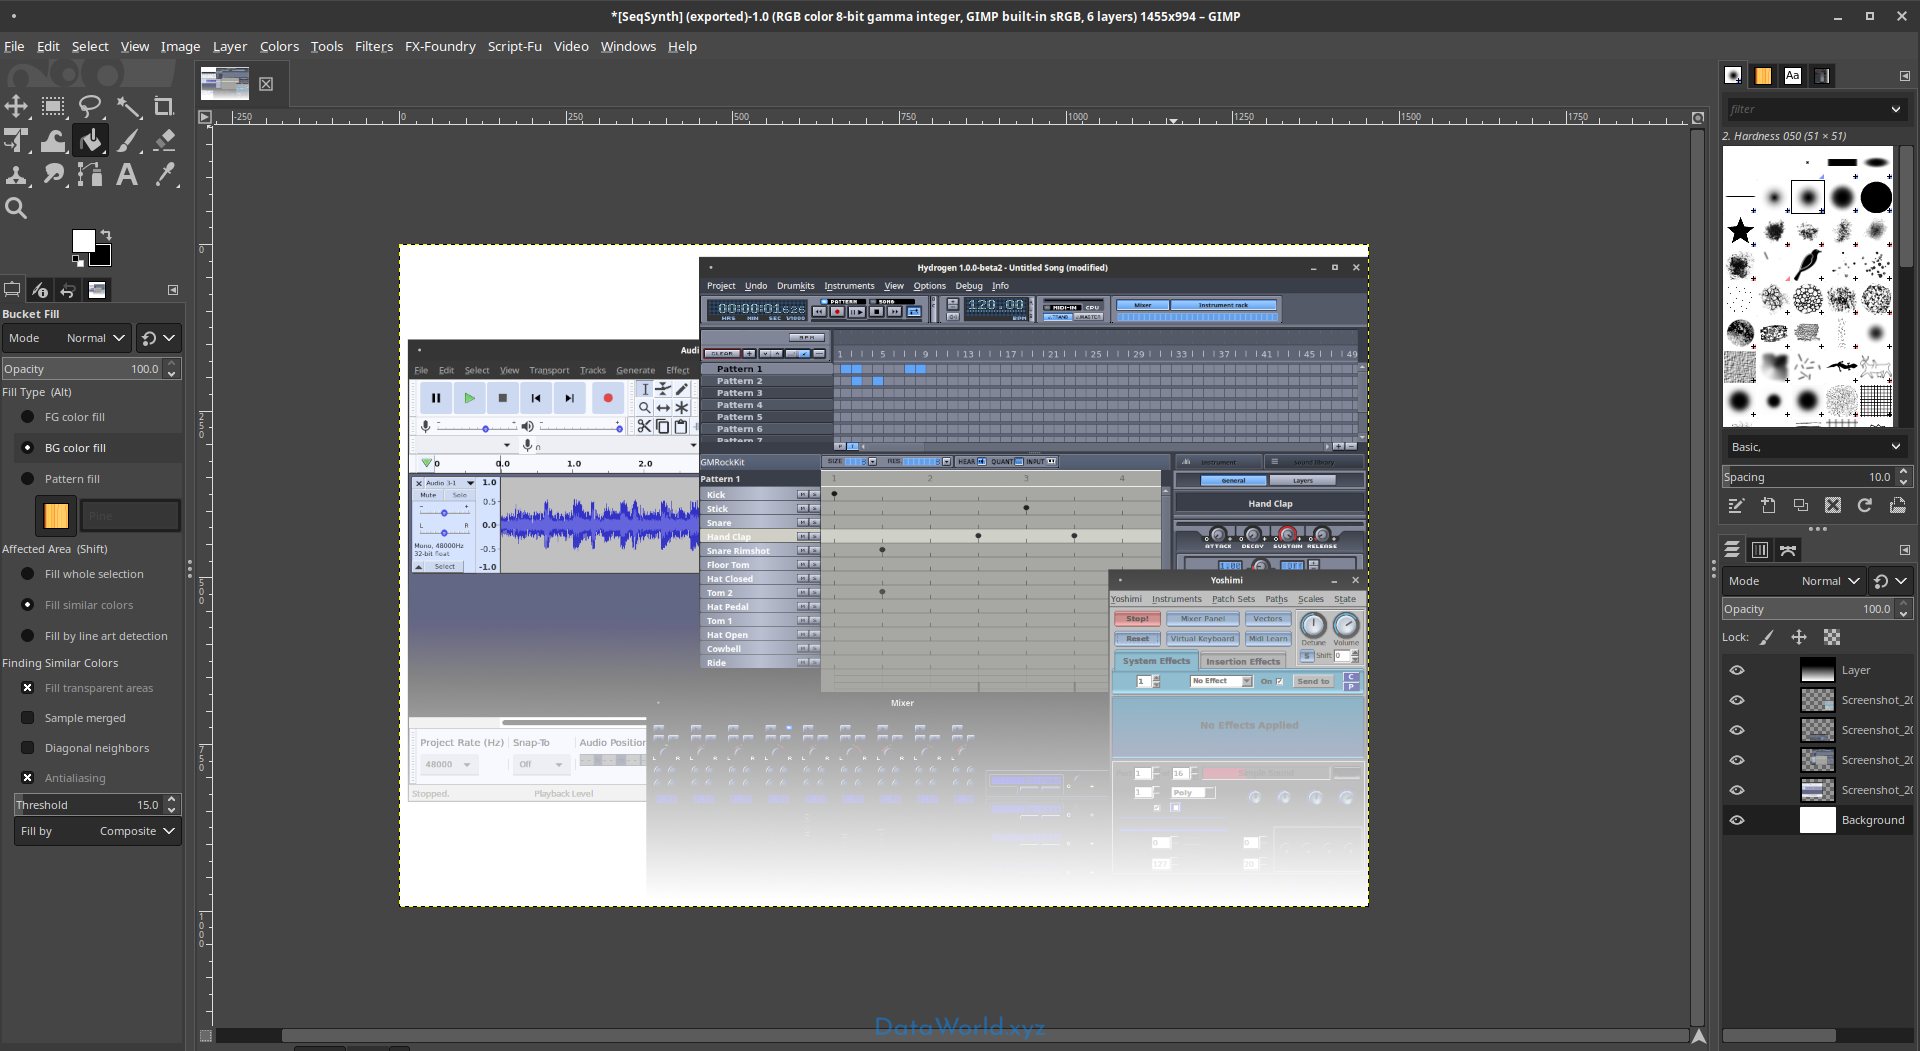
Sequencers and Synthesizers
Ubuntu Studio comes installed with other notable applications such as:
- Audacity – Audio Wave Editor
- Qtractor – midi capable DAW
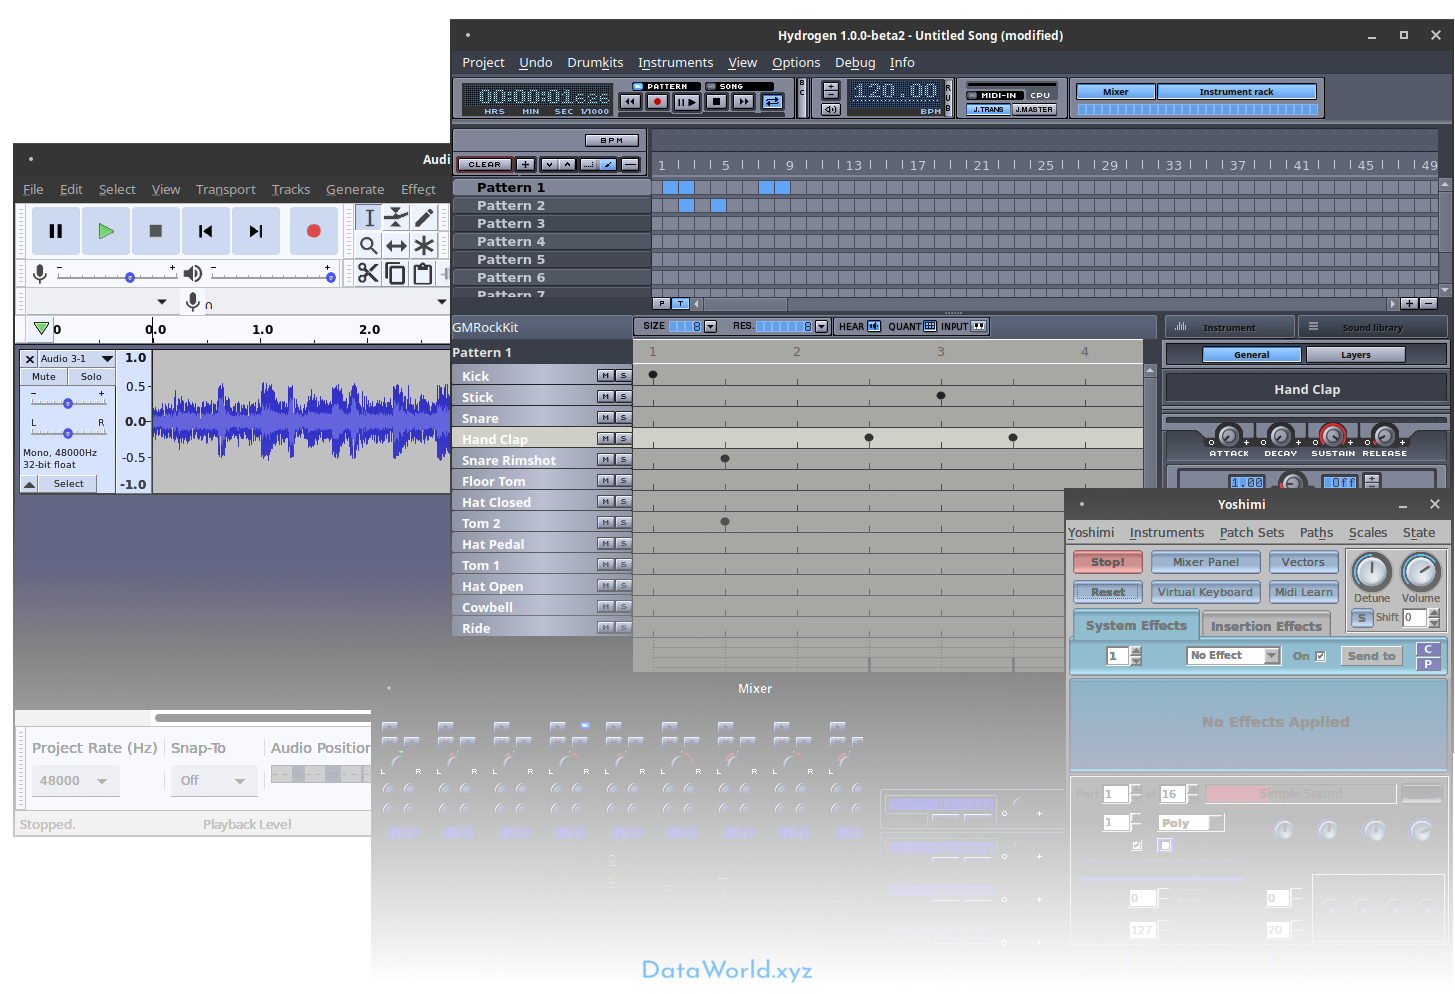
- Hydrogen – Drum machine / Sequencer
- Yoshimi – Software Synthesizer
Virtual Guitar Amps
Rakarrack (preinstalled) and Guitarix are two popular guitar amp simulators.

Audio Programming
 There are numerous easy to use audio programming environments available to Ubuntu Studio, such as the preinstalled puredata. Others are installable, such as supercollider, csound and chuck.
Video
3D modeling, animation, compositing, and more
From home movies to full length HD films, Ubuntu Studio supports you all the way to final render for your video.
3D modeling, animation, compositing,
post production effects are available to support your creative vision.
Openshot
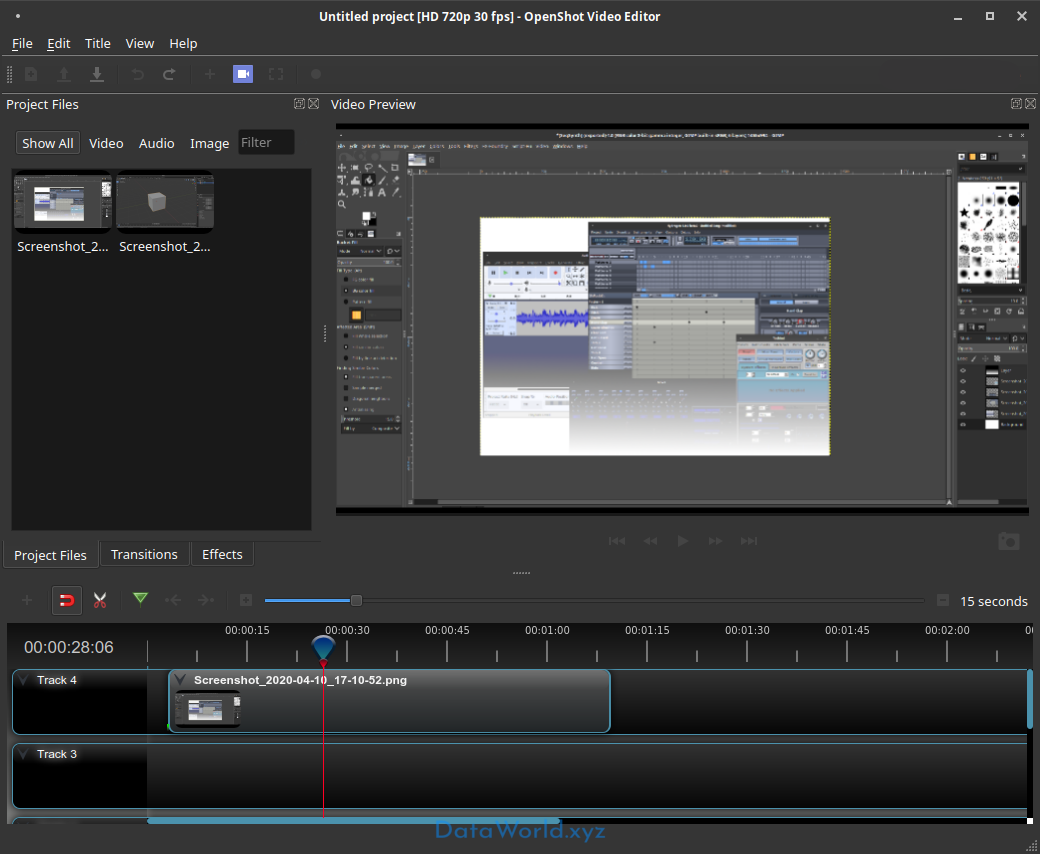 Openshot is a simple video editor for Linux. Add videos, photos and music to create DVD’s, youtube clips and a range of other formats.
- Simple and clean UI
- Intuitive use
- Format support based on ffmpeg
FFMPEG
“FFmpeg is the leading multimedia framework, able to decode, encode, transcode, mux, demux, stream, filter and play pretty much anything that humans and machines have created. It supports the most obscure ancient formats up to the cutting edge. No matter if they were designed by some standards committee, the community or a corporation. It contains libavcodec, libavutil, libavformat, libavdevice, libswscale and libswresample which can be used by applications. As well as ffmpeg, ffserver, ffplay and ffprobe which can be used by end users for transcoding, streaming and playing.”
Graphics
Provide many graphic design and modeling applications
Graphic design and modeling applications such as GIMP, Inkscape and Blender are provided along with plugins like dcraw to help with RAW camera files and wacom-tools for people with Wacom drawing tablets.
Blender
Blender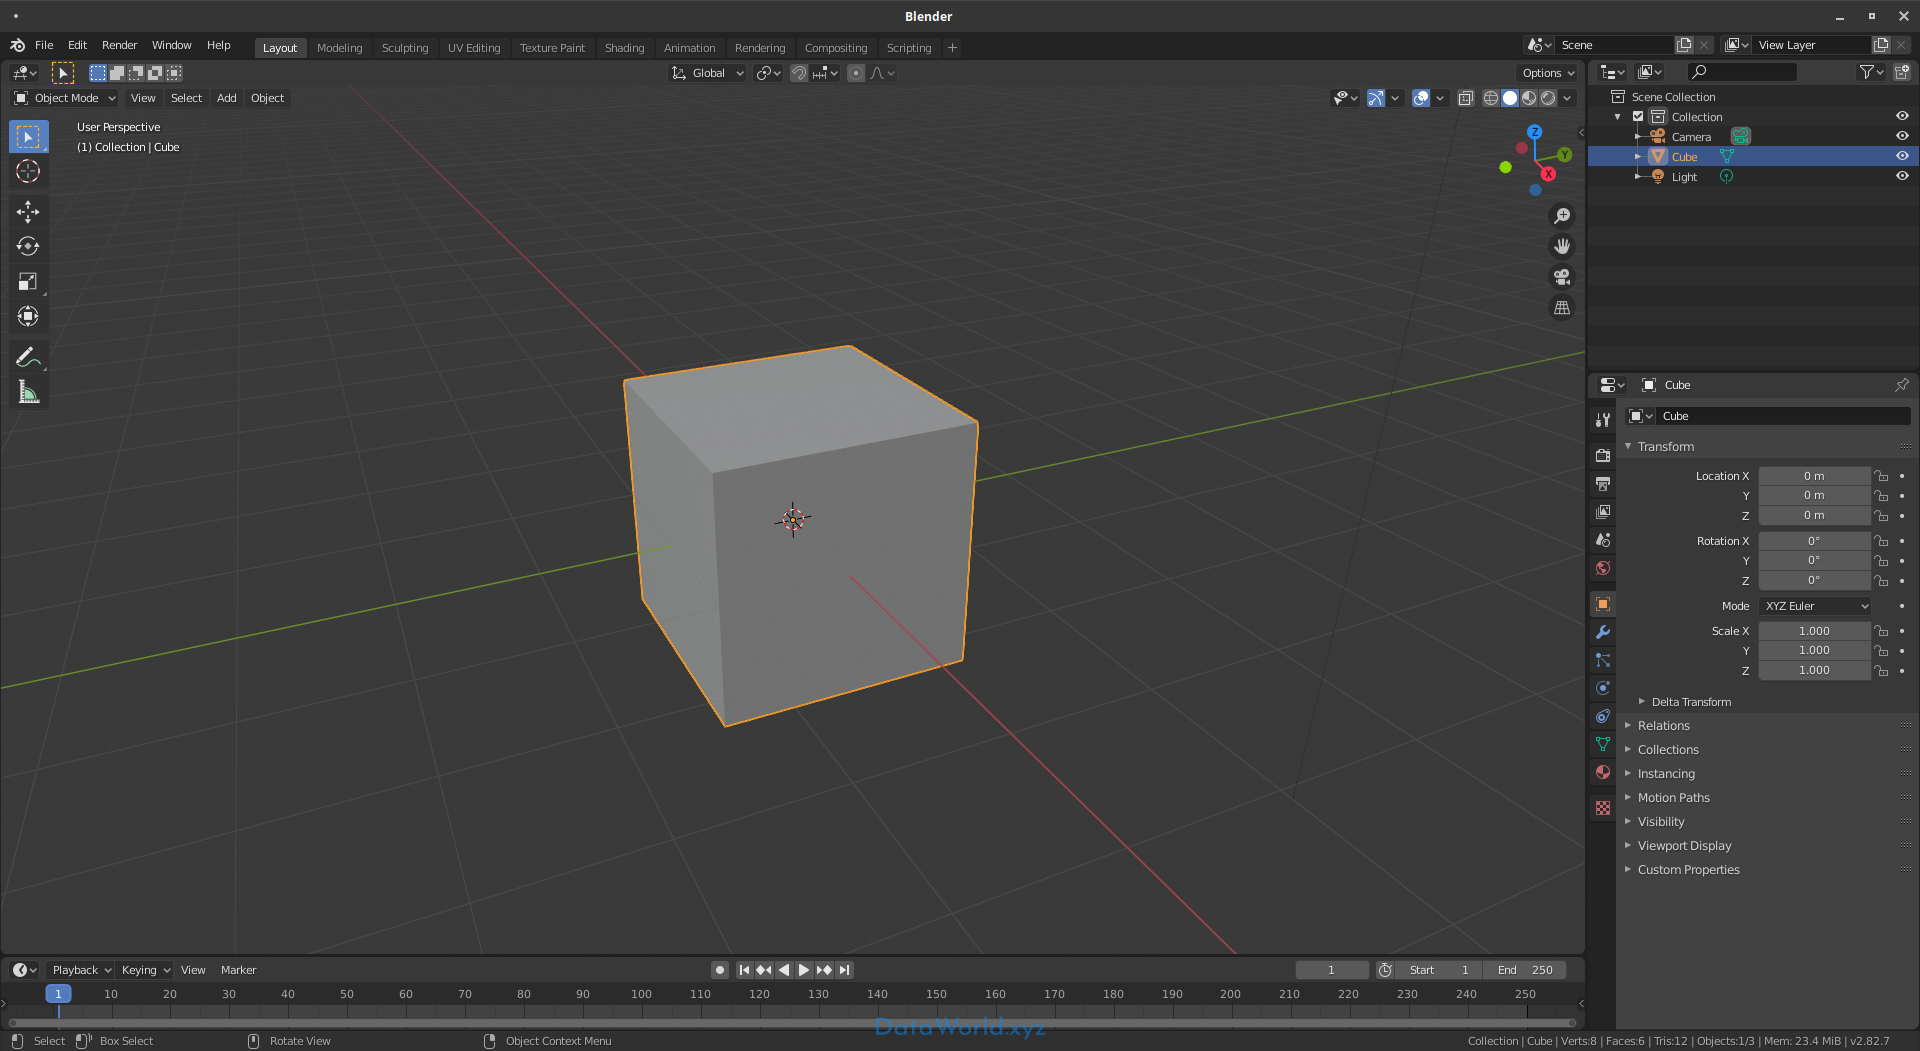 is a full fledged 3D content creation suite. You can create 3D models and animate scenes. Blender also has its’ own game engine and is vastly expandable with addons.
- 3D Solids and character modeling
- Scene animation
- Physics and particle functions
- Shading
- Game engine (create a whole game using only Blender)
- Imaging and compositing
- Highly extensible
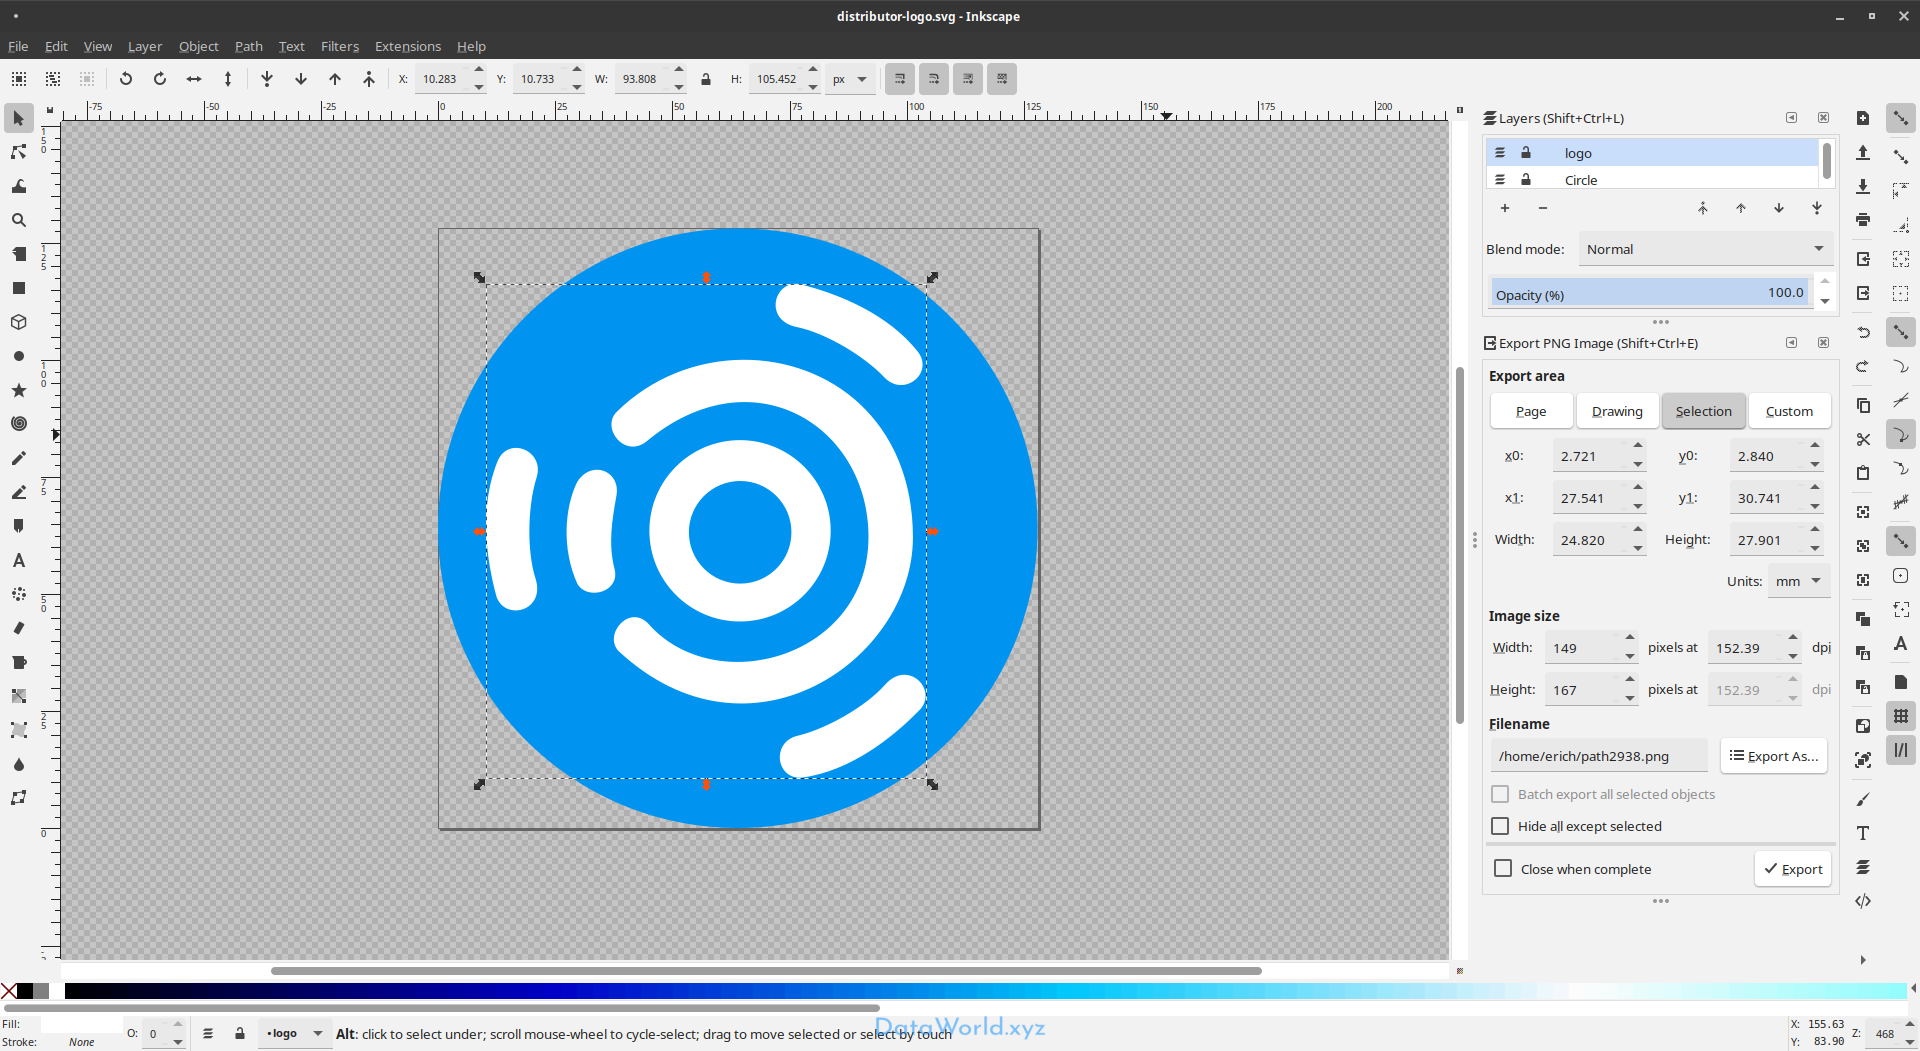
Inkscape
Inkscape is a superb vector graphics editor, with capabilities similar to Illustrator, CorelDraw, or Xara X, using the W3C standard Scalable Vector Graphics (SVG) file format.
GIMP
GIMP stands for Gnu Image Manipulation Program, and is a similar to Photoshop.
PikoPixel
PikoPixel![]() is an easy-to-use application for drawing & editing pixel-art.
is an easy-to-use application for drawing & editing pixel-art.
- Unlimited undo
- Supports multiple layers
- Customizable canvas background and grid patterns
- Hotkey-activated popup panels
- Export upscaled images
- Supports linear (gamma-correct) color blending
Photography
Edit, process and organize your photos
Import pictures from your camera or other devices. Edit, process and organize your photos with such applications as GIMP and Darktable, and publish them to social web sites.
Darktable
Darktable is a photography workflow application and RAW developer. A virtual lighttable and darkroom for photographers. It manages your digital negatives in a database, lets you view them through a zoomable lighttable and enables you to develop raw images and enhance them.

Shotwell
 You can use Shotwell to organize your library of photos.
- Import multiple formats
- Edit tags
- Convert formats
- Simple editing on the fly
- Publish directly to social sites
Ubuntu Studio System Requirements
| Required: | Recommended: | |
|
Intel Core 2 Duo equivalent 2GB 16GB |
Intel Core i5 equivalent or better 8GB 64GB, more for audio/video work |
Ubuntu Studio Download
Try before Installing
The Ubuntu Studio ISO is a live image, which means you can boot it and use all the default applications without actually installing it. Just burn a DVD, or create a bootable USB stick and try it out.
Boot from DVD
- Download the image above. Burn it to DVD using your favorite software. Information on burning to CD/DVD can be found here.
- Make sure to set your BIOS to boot from CD/DVD. Information on troubleshooting booting from CD/DVD can be found here.
- Boot from your newly burned DVD and follow the instructions.
Boot from USB Stick
- Download the image above. Use software like UNetbootin to create your bootable USB stick (included in Debian/Ubuntu repositories). If using Universal USB Installer, use version 1.9.0.8 or above.
- Make sure to set your BIOS to boot from USB. Commonly, the USB stick is recognized as a bootable hard disk, and to boot from it, either set it first in the BIOS boot order, or find a way to select which device to boot from using a key stroke while starting the computer (not all motherboards support booting from USB stick. Also, not all USB stick are bootable). More information on this here.
- Boot from your newly created bootable USB stick and follow the instructions.
Fresh Installation
A fresh installation from DVD is the recommended installation method. The DVD image is about 2.6 GB, and can either be burned to DVD, or used to create a bootable USB stick.
Check ISO for corruption using checksum
After downloading the ISO, make sure to check it for corruption. Several methods are available, we recommend using SHA256. Go to the download directory, and use the command line program sha256sum. The output should be identical to the respective checksum found at the link below the downloads above. Read more about checking SHA256 sums.
Using wireless while installing
If you are using wireless to connect to the internet, you may first want to boot into the live system, connect to the internet and install from there. There is a launcher for installing Ubuntu Studio on the desktop.
Notes on partitioning and dual booting
If you are intending to dual boot (keeping more than one operating system on the same computer), you will need to know how to partition manually. Otherwise, the default option presented during the installation is the best choice (will overwrite everything on the disk). Information on dual booting can be found here.