
BlueStacks Full Details and System Requirements
BlueStacks 5 on Windows 7, 8, 10, 11
The new BlueStacks 5 has finally been released, bringing players the absolute best of the best when it comes to playing mobile games on PC. This new big step is meant to take what BlueStacks 4, the best Android app player on the market, has to offer, and improve upon it to bring the fastest and lightest emulator ever. Seriously, you haven’t experienced true speed until you try out BlueStacks 5. Take a look at our features overview article if you want to learn what this emulator does differently.
Now that BlueStacks 5 is available for download, you’ll probably want to install and give it a whirl, and see what the fuss is all about. Luckily for you, installing BlueStacks 5 is very simple and only takes a few steps:
- Go to our website and download the BlueStacks 5 installer.
- Run the installer and let it work its magic.
- When it’s finished, BlueStacks 5 will launch automatically and you’ll be taken to the home screen once it loads.
Once it installs, you can look for games on the Play Store and download them just like on your phone. The process is mostly automatic and takes only a few minutes. However, in case you need further assistance, here are detailed step-by-step instructions on how to install our Android emulator.
BlueStacks 5 System Requirements
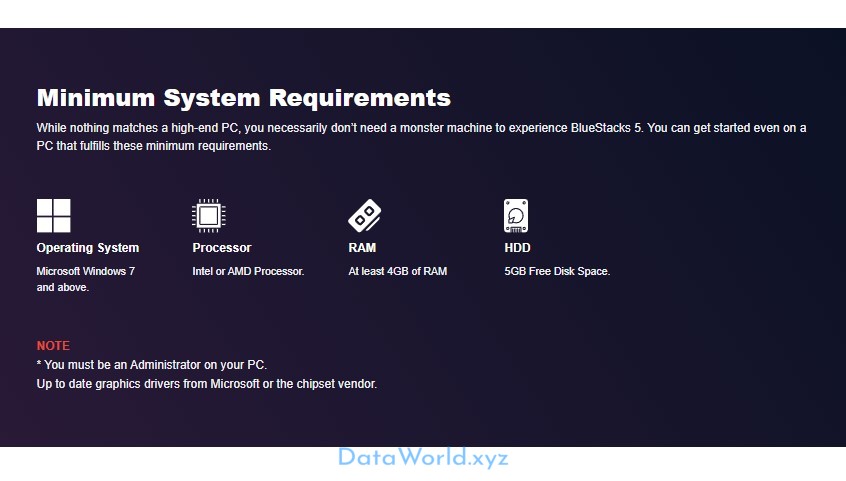
Before you install or update to BlueStacks 5, you need to make sure your PC fulfills the minimum requirements to run our emulator. These requirements are the following:
Minimum System Requirements
- OS: Microsoft Windows 7 and above.
- Processor: Intel or AMD Processor.
- RAM: Your PC must have at least 4GB of RAM.
- HDD: 5GB Free Disk Space.
- You must be an Administrator on your PC.
- Up to date graphics drivers from Microsoft or the chipset vendor.
Recommended System Requirements
- OS: Microsoft Windows 10
- Processor: Intel or AMD Multi-Core Processor with Single Thread benchmark score > 1000.
Graphics: Intel/Nvidia/ATI, Onboard or Discrete controller with benchmark score >= 750.
You can go through the detailed guide we have made on how to find the benchmark score of your processor (CPU) and graphics card (GPU). - Please ensure Virtualization is enabled on your PC/Laptop.
- RAM: 8GB or higher
- HDD: SSD (or Fusion/Hybrid Drives)
- Internet: Broadband connection to access games, accounts and related content.
- Up to date graphics drivers from Microsoft or the chipset vendor.
- You can install BlueStacks even if you have a virtual machine such as Microsoft Virtual PC, VMWare Workstation, or Oracle Virtualbox, installed on the same PC. However, please note, that you may run into some performance issues.
Once you’ve verified that your PC can run BlueStacks, we can go ahead and proceed with the installation.
Downloading BlueStacks 5
BlueStacks is very easy to install, mostly because all you need is a small installer file, and our software will do the rest for you, including downloading necessary files, and actually installing the emulator on your PC.

You can find this downloader on our official website, by clicking on the corresponding “Download” button. Make sure you ALWAYS download BlueStacks updates and clients from our website as our files are certified malware-free and we can’t take responsibility for issues caused by installers downloaded from third-party sites.
Installing BlueStacks 5
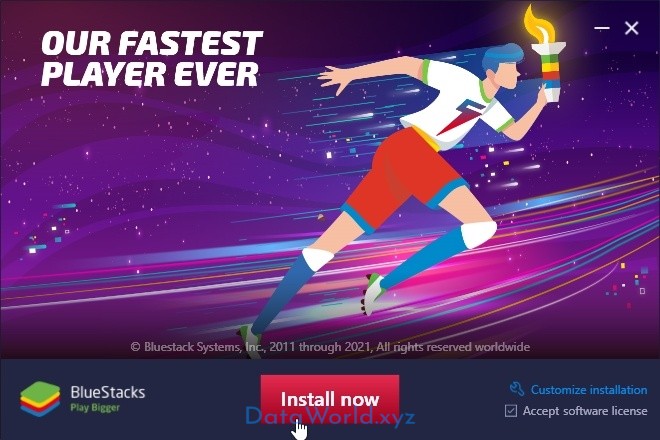
Once you have your installer downloaded, simply double click on it to start the installation.
As we mentioned above, the process is mostly automatic. However, you can freely select the install directory by clicking on the “Customize” button just beside the text field in the installer. Please keep in mind that every single app or game you install on BlueStacks will be stored in this directory, so make sure you have plenty of space for all the mobile games you’ll want to play on PC.

Note: Updating to a newer version of BlueStacks 5 is very much the same, only instead of creating a fresh install, the installer will prompt to update your existing version. No additional steps or input is necessary if this is the case, and you won’t lose any of your installed data or games by updating your BlueStacks via the installer.
Setting Up Your Google Account in BlueStacks 5
Once you’ve installed BlueStacks 5, there’s still one more step you need to do before playing: linking your Google account. This is necessary for accessing important services such as the Play Store, which is from where you’ll be downloading most, if not all, your games.
Linking a Google account is very simple, and is one of the first things you’ll do after installing BlueStacks since you’ll be prompted to do so by the emulator. In this text screen, you just need to input your Google user and password, and you’ll be ready to start installing games on BlueStacks.
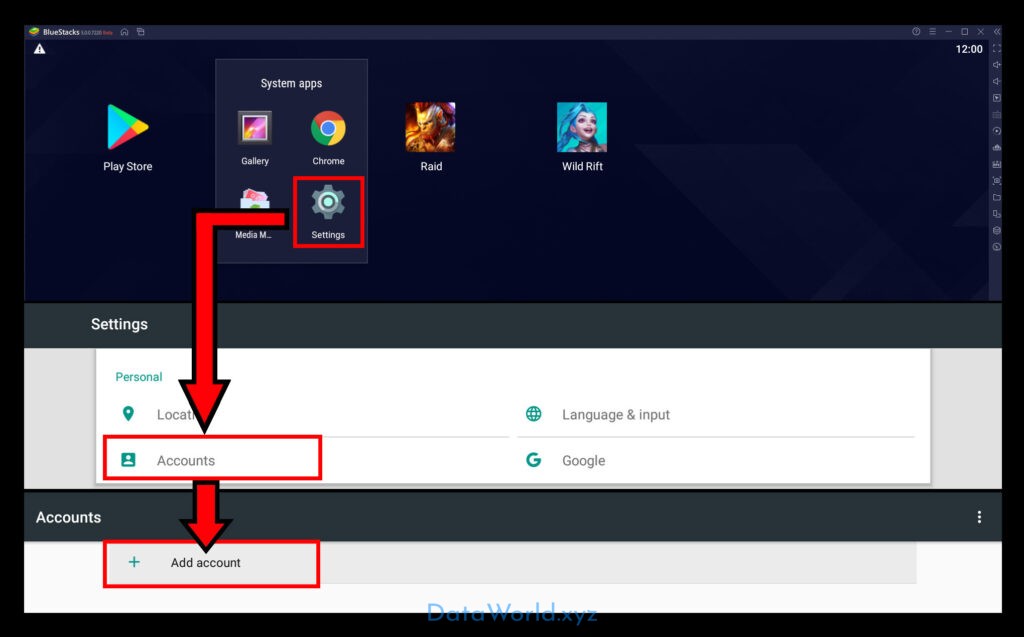
Note: If for any reason you didn’t get the initial Google setup screen upon launching BlueStacks, you can still add your account via the Android settings menu on the home screen, in the “Accounts” submenu. Alternatively, if you try to access the Play Store, you’ll also be prompted to link an account if you haven’t done so already.